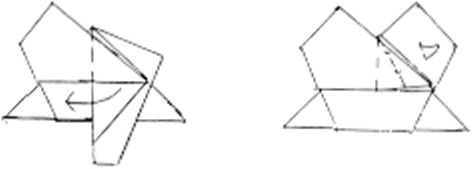
3. Fold to center pulling Haps from behind
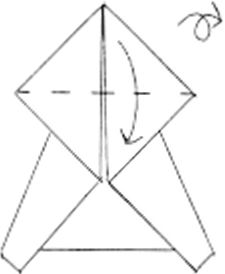
4 Valley told top Turn over.
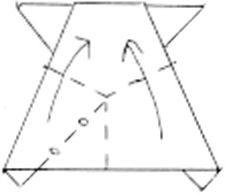
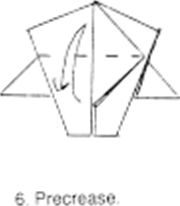
5. Rabtxt-ear bottom, using the intersection ot toids on back as a guide

Online collections
monedastodas.com
All collections » Origami » Butterfly
by Marc Kirschenbaum (NY)
& 1990
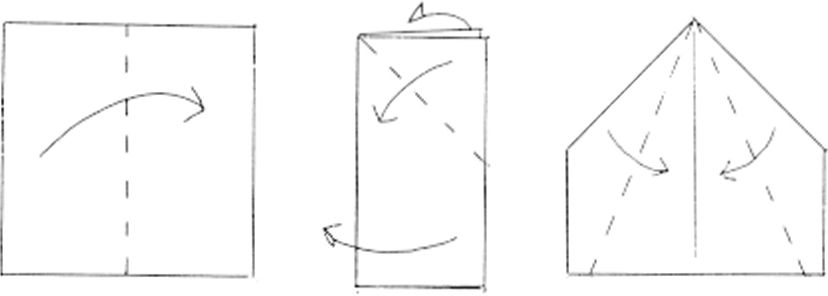
l.Thlswi oethecobr of the body Fok! han
2 This will be the color of the wings Fold corners and remove fold from step 1.
3. Fold to center pulling Haps from behind

4 Valley told top Turn over.


5. Rabtxt-ear bottom, using the intersection ot toids on back as a guide


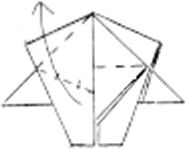
7 . Form an
asymmetrical sq-ash fold
8 Valley-told flap
Repeat steps 6-8 cn me other side
9. Squash fob the center nap

10 Petal fee flap downward.
11. Pull out a single layer from each side.
12. Hrie the center square by putting a layer of paper from behind each side
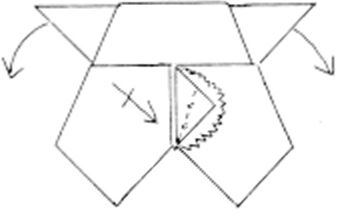
13 Reverse fold the hidden flaps. Pul out top corners, undoing the crimp Turn over
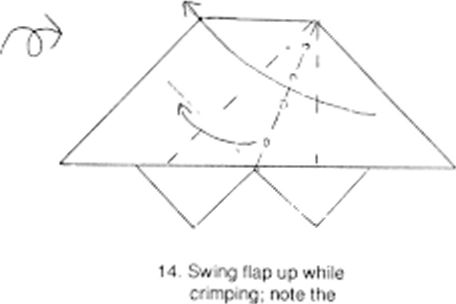
intersections
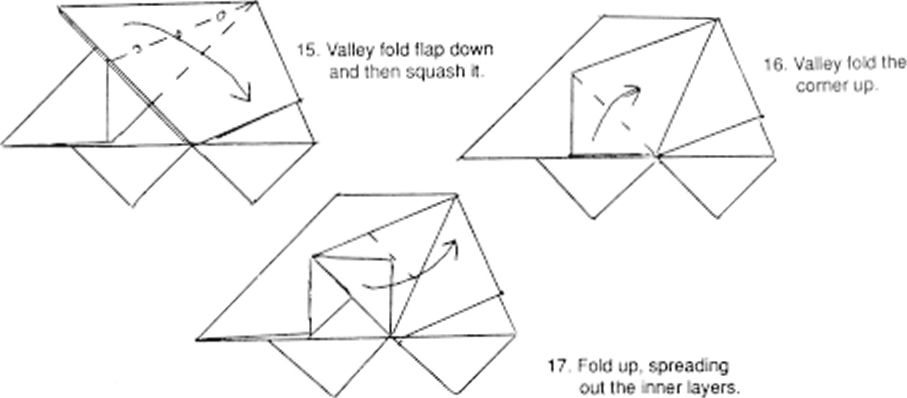
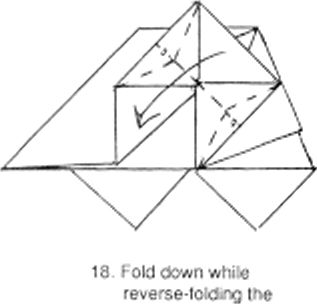
sides.
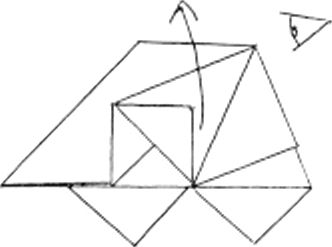
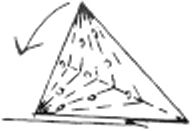
19 Ope'- out one side
20 View from 19 Collapse by inserting valley tolas between the existing creases, working trom the msde towards the outside. Note: this is Aaron Einbond s favorite step
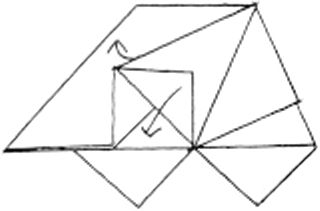
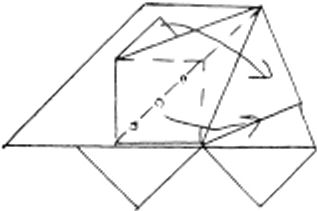
21. Fold down the corner and undo one of the see reverse folds
22. Fold flap overwrite reverse folding the bottom single layer Repeat steps 14-22 on the other side
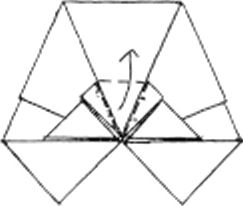
23. Pelai toc tne center flap.
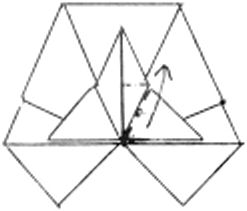
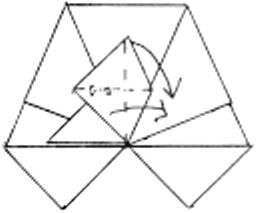
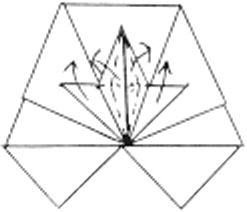
24. Squash fold one of the sees
25 Fold the sing e layered triangle over and men to« in haw downwards Repeat steps 24-25 on the other side
26 Fold flaps up while reverse folding the top center layers outwards.

27 . Ai^ht triangle* shown only Reverse fold Repeal on the other side
28. Reverse fold Repeat on the other side
29 Fold the sees of the lop layer to the center. Repeat on other side
30 . Reverse told Repeat on the other side
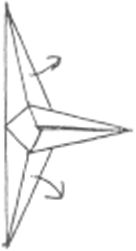
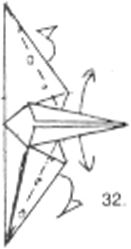
VrOuntan told the just pulled layer around as many layers as possible
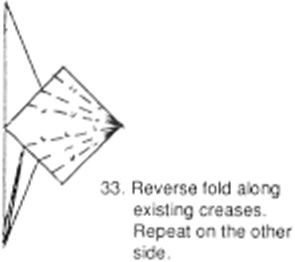
31 Carefully pull out the lop layer from each side. Repeat on the other side
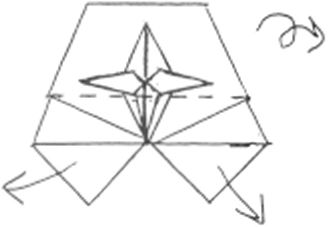
Open out the top to a preliminary fold
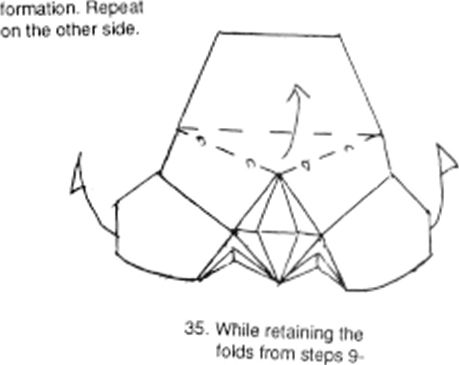
13. pull tho center
34. Precrease first.
Open oul the front and turn over
portion up, and flatten the model by swinging the wings lo the back
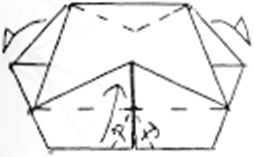
56 Valley fold bottom corners Fold the bottom up while swinging the baa down Precrease top as indicated.

37 Insert additional
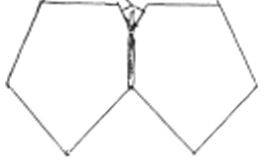
precreases by forming a series of reverse «olds and opening them up
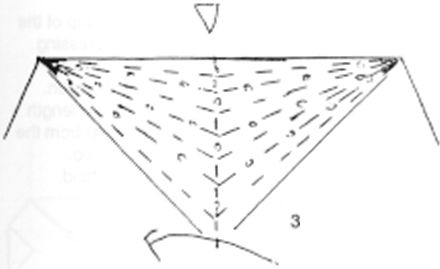
38 Change led from step 36 to a mountain fold, anc insert valley folds m between the existing mountian folds working towards the outside These are all essentially reverse folds
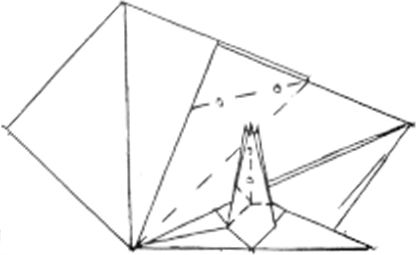
39 Medel Rotated:
Fold the center teg down as indicated Crimp the thickness on the wing Repeal an steps behind.
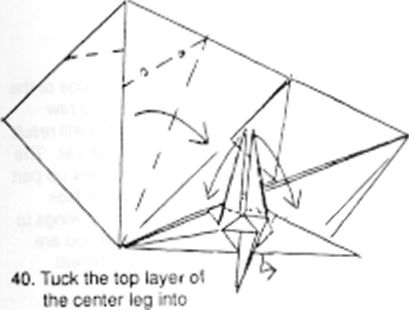
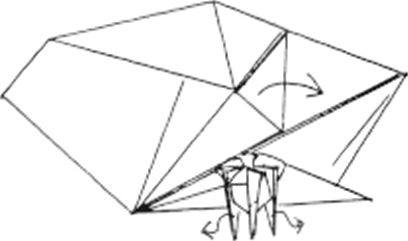
the pocket beneath it. Reverse fold the other legs down The layers w.n not be distributed evenly Squash where indicated on the wing. Repeal all steps behind
41 Tuck in the top layers olthe cuter legs into ther respective pcckets underneath Unfod the triangular flap on the wing Note how its lip touches the creases from the previous squash Repeat all
lows behind

Repeat
t upwards, behind
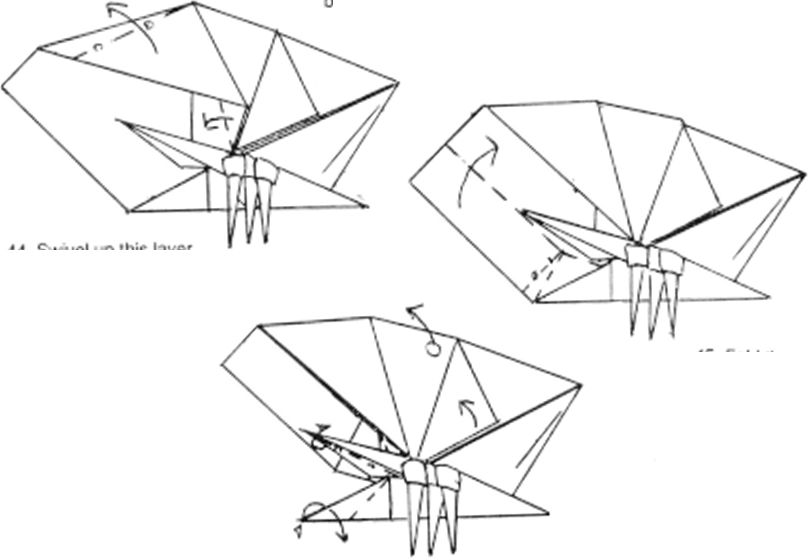
44 Swivel up this layer so that its raw edge is parallel to tne lower raw edge at the wing Repeat behind
42 Form the dng valley fold on the top single layer only. This will cause tne model to be 3 D Flatten the antenna by crimping
43. Flatten the top ct the w\rgs by pressing the tcp Hat <1 an upward direction. This will add length to the critrp Irom the provcus step Repeat behind
45 Fold the edge of the wng to the raw edge; this wil result in a rabbit ear. The head covers up pan of the tad. lock behind the wings to seo wnat you are doing Repeat behind.
46 Thin the antennae us<X) reverse folds. Cutside-reverse fold the head. Pull the wing sections apart from where rd cared by the circle. Repeat behind.

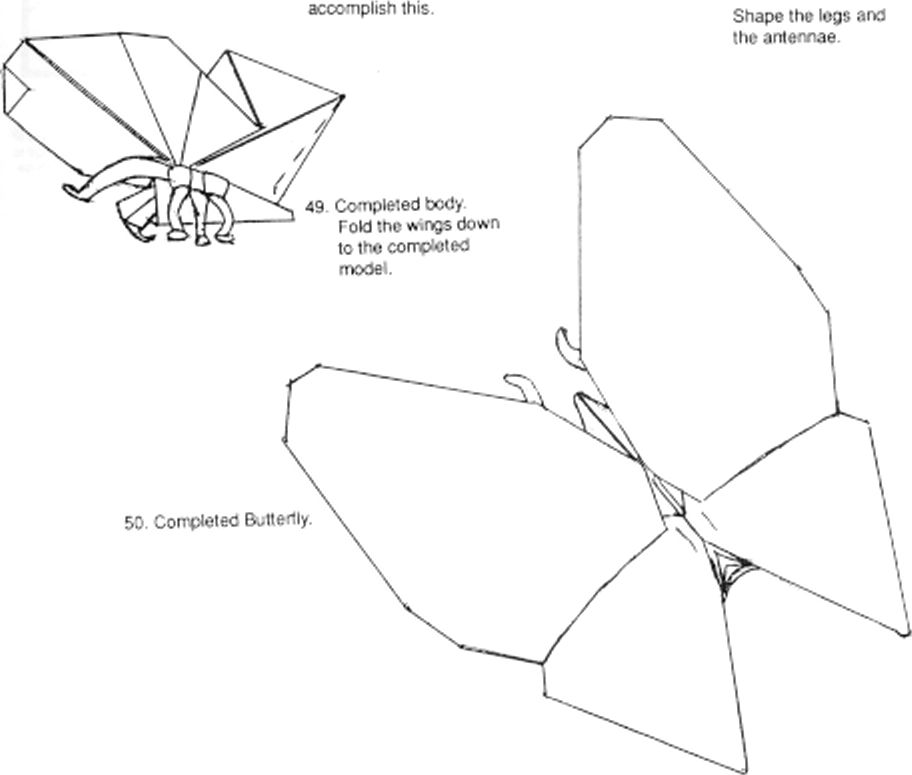
47 valley io«d where indicated on the wings Repeal behind Pun o.,t a single layer ol paps' from the txt ad You will have to open the head io
48 Double rabbilear ihe head and curt the lop. Crimp the bead into the body Shorten the tail Close and sink the Hap folded in step 47. Repeat behind
Download PDF file with this instructions for printing